
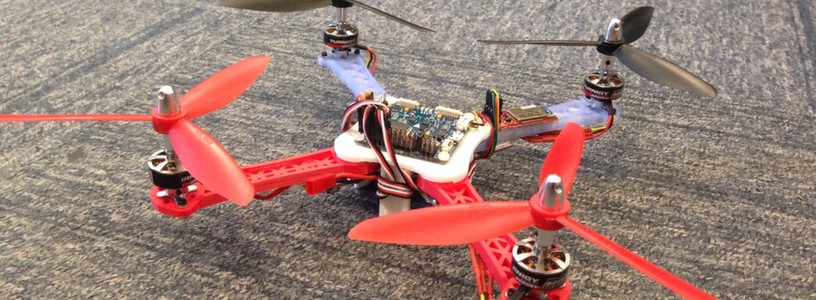
First automatic position control test’s with the series of quadrotors TEGO, 3D printed multicopters built to be the workhorse of Aldux’s research.
In previous posts I have already showed the TEGO series of quadrotors…
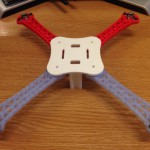
This quadrotors are built with the porpoise of being easily repaired / replaced / redesign and will work as the workhorse of my research, the first version was very basic and a little bit heavy, the next generation started to use the mechanical connectors “Rotites” that are saving the frame lots of weight, reducing the number of screws and nuts involved in the build.

The usual specifications of the TEGO series is:
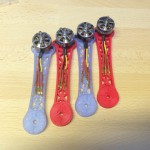
- BLDC motors, small size, with a kv range: 1600 – 2100
- Standard props 5in length and 6in pitch
- Lipo battery, 950mah, 25-50C
- ESC 6-10amps
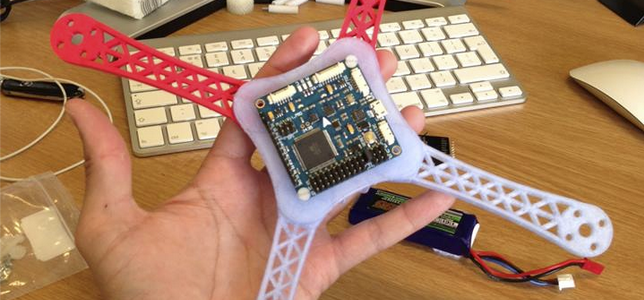
- Flight controller with ATMega 2560, MPU6050 6 axis gyro/accelerometer, HMC5883L magnetometer
- MW 2.3 firmware
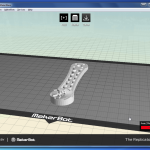
- 3D printed frame
- Rotites
Why 3D printed??
Does 3D printed stuff need a why?? no!!! hahaha, well, basically, this quadrotors are going to see lots of action, crashes… so, if a arm breaks, I print another one… Do I need another quad?? ok, print it… 3D printing is AWESOME.
Why rotites?
Its a highly intelligent solution to fasten the arms of the quad to the main body, with out the need to screws and nuts, also Rotites are really awesome, helps in reducing the body weight, so, increase flight time and make overall a cooler design.
Why MW?
MultiWii is a open-source software project for multicopter flying platforms, its very easy to put extra code and modify the existing one… and also the boards avaiable on HK that support the MW firmware are very cheap.
This test involve a motion capture system, Optitrack, that is hooked to Simulink via a QUARC block to get the attitude (6DOF) of the quadrotor, then we perform some calculations to estimate the position of the quadrotor and output the desired position, and we proceed to sent the commands, roll and pitch, via Bluetooth to the MW board, usign the RCSERIAL commands.

The first step is to make the quad remain in one position in space, in this case the center already setup of the motion capture system.
We had several crashes, one due to me, hehehe, and the other just for being very brave and test a flying quad for the first time (with no safety whatsoever). The 3D printed frame has proved to be very useful and easy to repair.
In the last test of the video (showed below) TEGOv3 does not lift off, to avoid unnecessary crashes, it will just hover enough for the quad to be able to perform ROLL and PITCH maneuvers. Its showed that the quad goes to the center marked on the floor, of course, we need to tune the gains for control and input the exact constants of this frame and motors combination.
Many thanks to my buddy and work colleague Murray and my sweet horde of undergrads  .
.
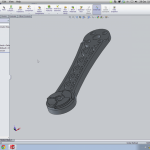
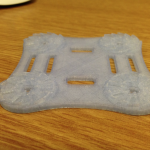
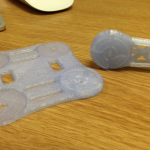
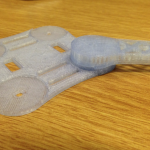
 ), and we did this design, using 90 degrees A and B rotites, 4 B’s on the main plate and one B on each arm.
